How to setup plugin in wordpress
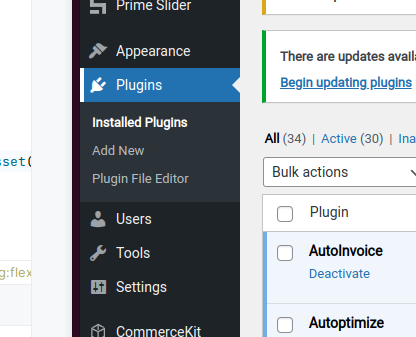
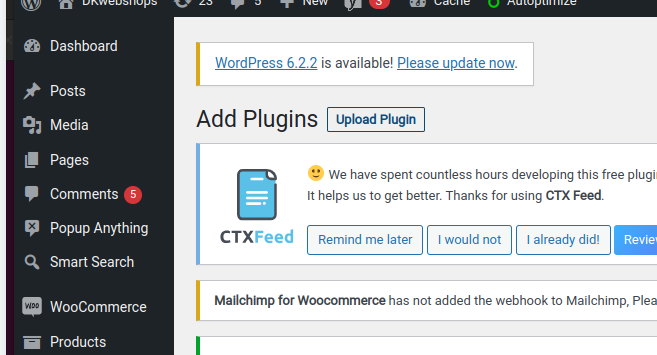
- Login to your Wordpress installation and click “Plugins ” in the menu on the left.
- Click Add New at the top

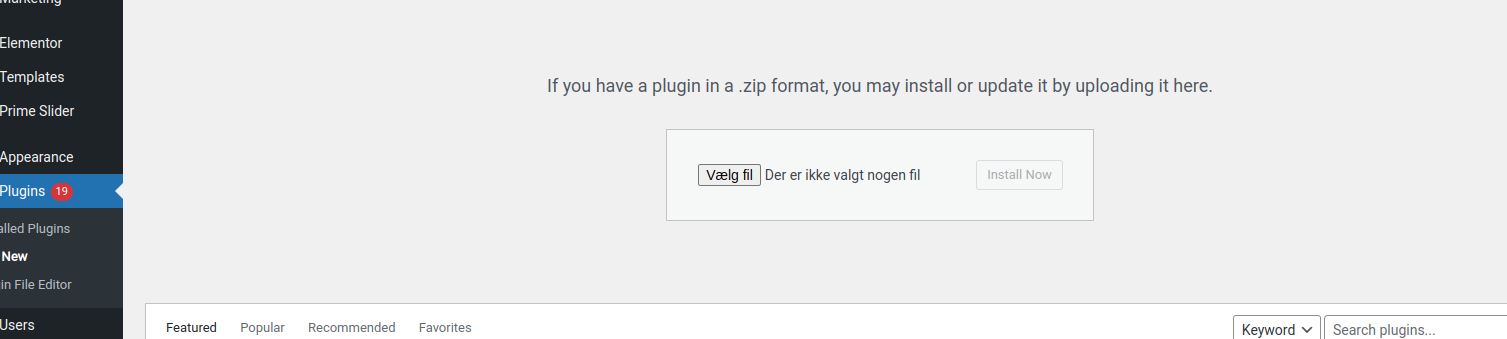
- Click Upload Plugin at the top
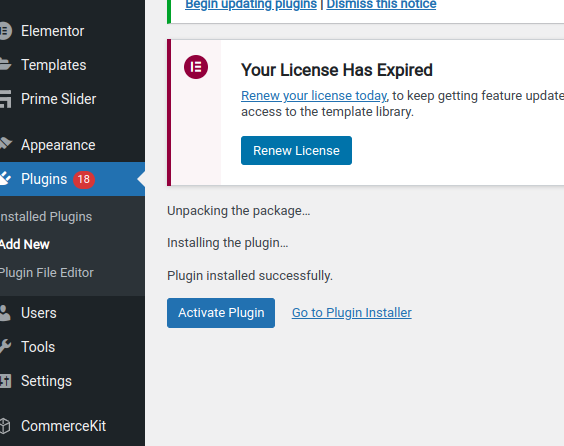
- Click browse and select the file you just downloaded from this site
- Then click Install now
- Click activate plugin
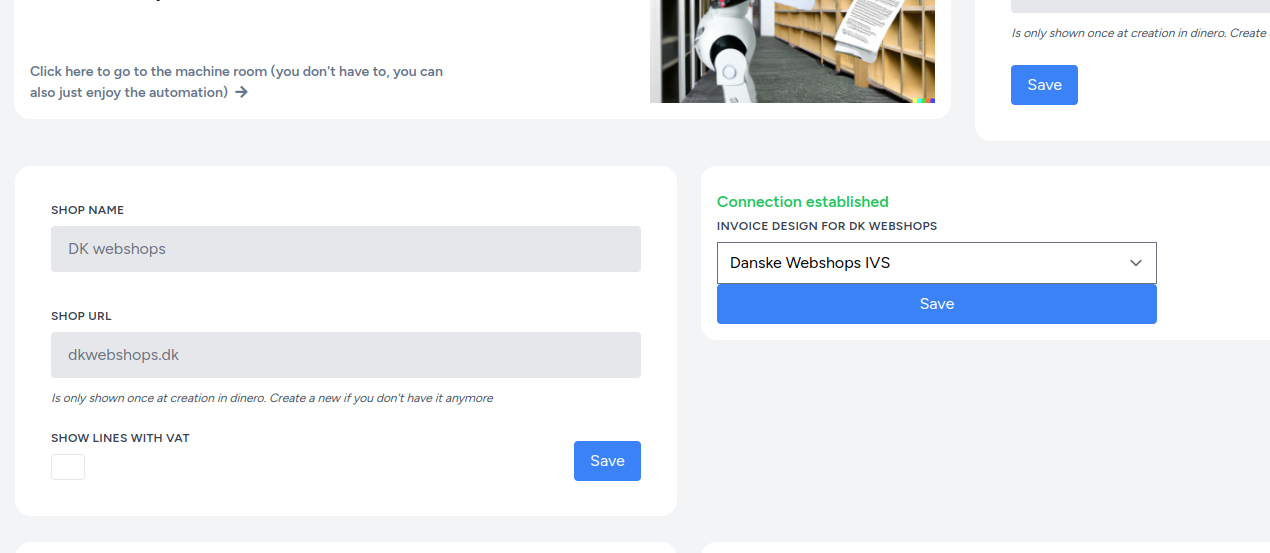
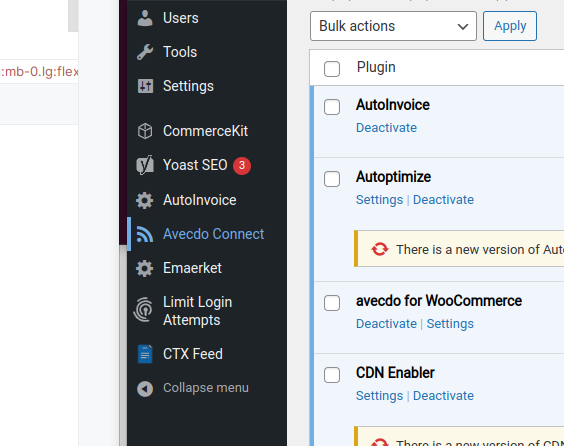
- Click on the new menu item "AutoInvoice" in the menu on the left
- Use your credentials from WooInvoice to login
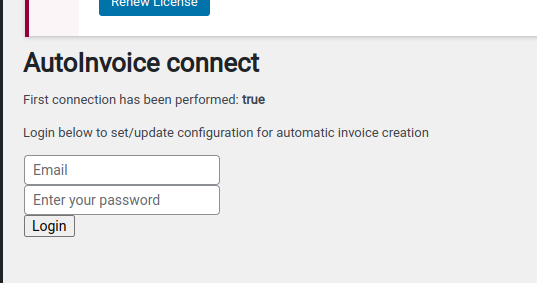
- Please notice that the login-prompt doesn't go away after succesful login
- This is intentional, as logging in is a way to syncronize connections between WooCommerce and WooInvoice
- A confirmation that the setup has been performed is shown int the form of the text
First connection has been performed: true
- Going back to WooInvoice you should see the shop in the dashboard